


Teresa's Recipes
Flavorful Pea and Rice Pilaf
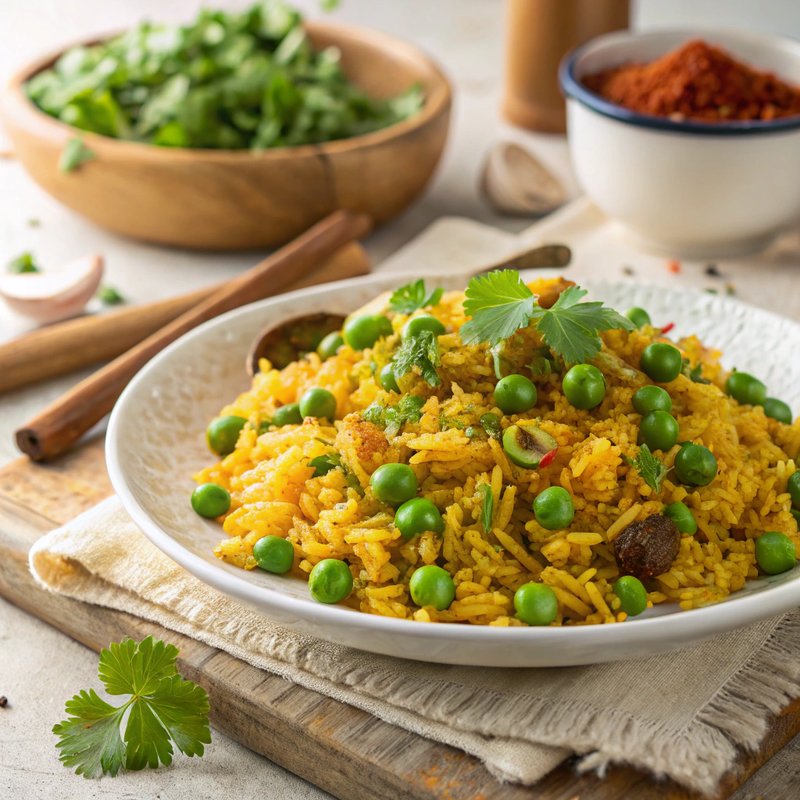
Indulge in the vibrant flavors of this aromatic Pea and Rice Pilaf, a delightful side dish that beautifully marries the nutty aroma of basmati rice with the sweetness of green peas. Infused with fragrant spices like cumin and turmeric, this dish is not only a feast for the senses but also a staple that has traveled through centuries and cultures, originating from the Middle East and making its way across Asia and Europe. Whether served alongside grilled meats or enjoyed as a stand-alone vegetarian dish, this pilaf is sure to impress with its stunning presentation, especially when garnished with fresh cilantro.
Ingredients
- 1 cup Basmati rice
- 2 cups Vegetable broth
- 1 cup Frozen peas
- 1 medium, finely chopped Onion
- 2 cloves, minced Garlic
- 1 teaspoon Cumin
- 1/2 teaspoon Turmeric
- 1/2 teaspoon Salt
- 1/4 teaspoon Black pepper
- 1/4 cup, chopped (for garnish) Fresh cilantro
- 2 tablespoons Olive oil
Dietary Notes
- Servings: 4
- Dish Type: Side Dish
- Prep Time: 10 minutes
- Cook Time: 25 minutes
- Calories: 210
- Fat: 7g
- Carbs: 32g
- Protein: 5g
- Sodium: 400mg
- Sugar: 2g
Instructions
- Rinse the basmati rice under cold water in a fine mesh strainer until the water runs clear to remove excess starch, which helps achieve fluffy rice.
- In a large saucepan, heat the olive oil over medium heat, allowing it to warm up for a minute.
- Add the chopped onion and minced garlic to the oil, sautéing until the onion becomes translucent and fragrant, about 3-4 minutes.
- Stir in the rinsed basmati rice, letting it coat with the onion and garlic mixture for about 1-2 minutes, enhancing the flavors.
- Pour in the vegetable broth and bring the mixture to a boil, watching closely to prevent overflow.
- Once boiling, reduce the heat to low, cover the saucepan, and let the rice simmer for approximately 10 minutes.
- After 10 minutes, add the frozen peas, turmeric, cumin, salt, and black pepper to the saucepan. Stir well to combine all ingredients.
- Cover the saucepan once more and cook for an additional 5-7 minutes, or until the rice is tender and the peas are heated through.
- Remove the saucepan from heat and let the pilaf sit, covered, for a few minutes to allow the flavors to meld.
- Fluff the rice gently with a fork and garnish with freshly chopped cilantro before serving.
Tips
- For added flavor, consider toasting the basmati rice in the olive oil for a couple of minutes before adding the broth.
- You can customize this pilaf by adding other vegetables such as diced carrots or bell peppers.
- For a more robust flavor, try adding a bay leaf or a stick of cinnamon during the cooking process and remove it before serving.