


Teresa's Recipes
Tteok (Korean Rice Cake)
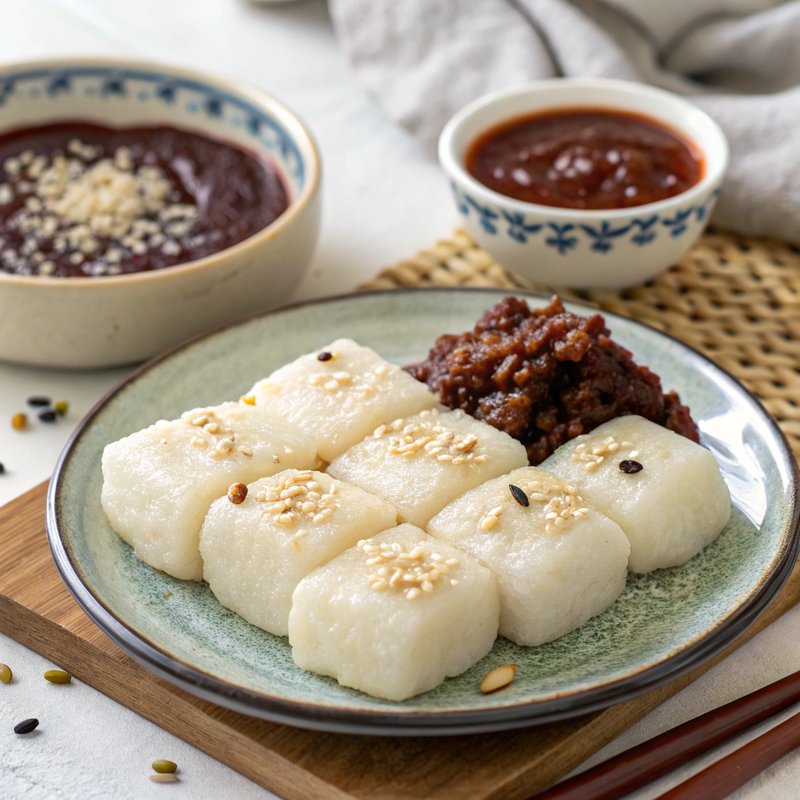
Tteok, the cherished Korean rice cake, is a delightful treat that has been enjoyed for centuries. Known for its chewy texture and subtle sweetness, this versatile dish can be savored on its own or filled with sweet red bean paste for an extra layer of flavor. Traditionally served during festive occasions, tteok symbolizes good fortune and prosperity, making it a staple in Korean celebrations. With its roots tracing back to ancient Korea, this recipe will not only satisfy your sweet tooth but also connect you to a rich culinary heritage. Whether enjoyed warm or at room temperature, tteok is a delicious way to experience the heart of Korean culture.
Ingredients
- 2 cups Glutinous rice flour
- 1 cup Water
- 1/4 cup Sugar
- 1/4 teaspoon Salt
- 1/2 cup (for coating) Cornstarch
- 1 cup (for filling) Red bean paste
- 1/4 cup (for garnish, optional) Sesame seeds
Dietary Notes
- Servings: 12
- Dish Type: Dessert
- Prep Time: 15 minutes
- Cook Time: 30 minutes
- Calories: 120
- Fat: 0.5g
- Carbs: 27g
- Protein: 2g
- Sodium: 50mg
- Sugar: 5g
Instructions
- In a mixing bowl, combine the glutinous rice flour, water, sugar, and salt. Mix thoroughly until a smooth batter is formed, ensuring there are no lumps.
- Pour the batter into a greased steamer tray or a heatproof dish, spreading it evenly with a spatula.
- Steam the batter over high heat for about 30 minutes, or until it becomes firm and cooked through. To check for doneness, insert a toothpick into the center – it should come out clean.
- Once cooked, remove the steamed rice cake from the steamer and allow it to cool for a few minutes until it's manageable to touch.
- Cut the rice cake into desired shapes, such as small rectangles or circles, using a sharp knife or a cookie cutter.
- If using red bean paste, take a piece of rice cake, flatten it, and place a small amount of red bean paste in the center. Fold the rice cake over the filling and shape it into a ball or a disc, ensuring the filling is completely sealed inside.
- In a separate bowl, mix the cornstarch with a little water to create a slurry. This will help prevent sticking.
- Dip each piece of rice cake into the cornstarch slurry to coat, ensuring they don't stick together during storage.
- Optional: Roll the coated rice cakes in sesame seeds for added flavor and garnish before serving.
- Serve the tteok warm or at room temperature, either as a sweet treat on its own or included in your favorite Korean dishes.
Tips
- For a different flavor, consider adding sweet potato or matcha powder to the batter before steaming.
- You can also fill the tteok with other fillings like chopped fruits or different bean pastes, such as mung bean paste.